Owning a swimming pool in Vegas is a true luxury, especially with the intense Nevada heat. In a climate where triple-digit temperatures are the norm, a homeowner’s pool becomes a “centerpiece” of outdoor living. And for hotels, it’s often the crown jewel of the property.
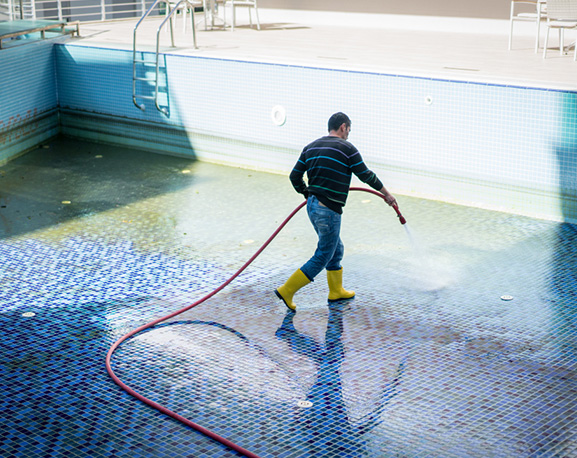
But keeping that water crystal clear—and keeping that tile clean—requires more than just an occasional skim. Pools in dry, hot climates like ours face some unique challenges.
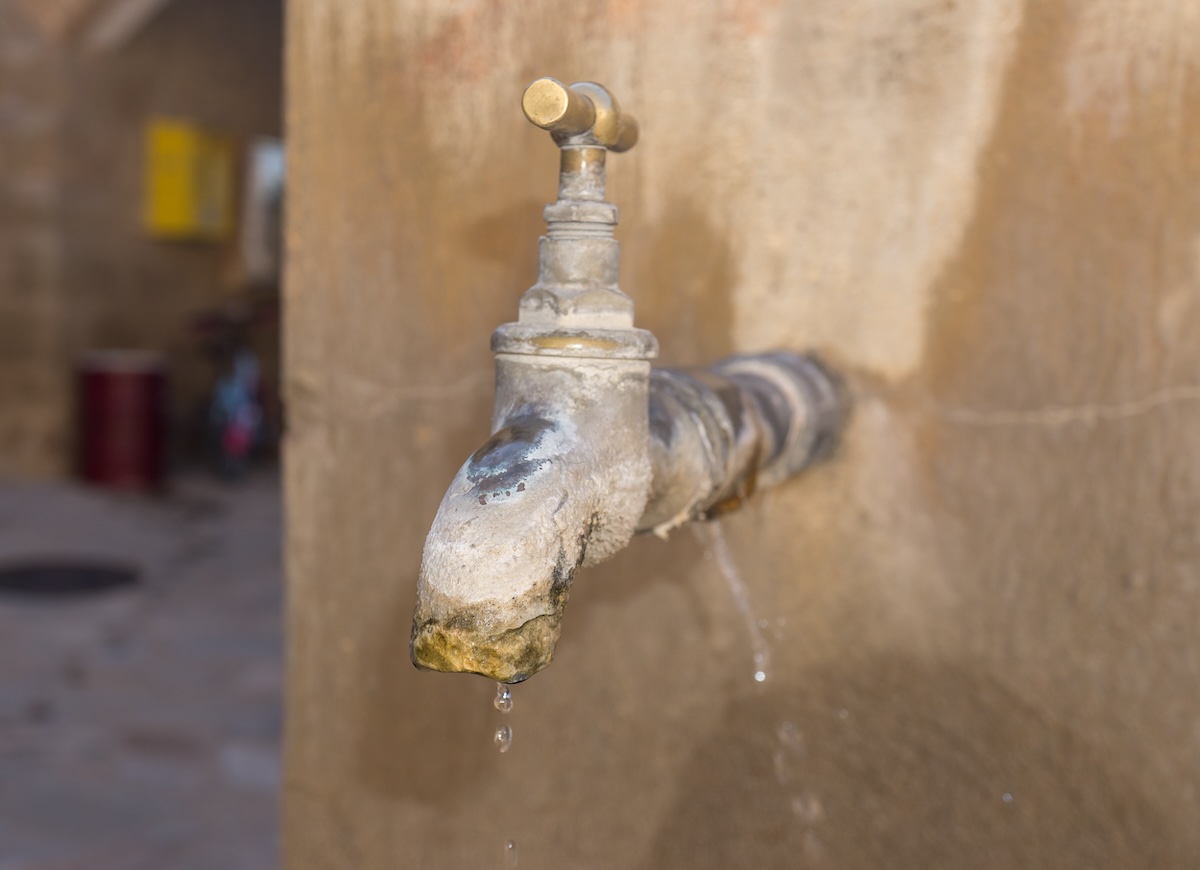
The combination of arid air and Southern Nevada’s mineral-rich hard water creates the perfect storm for grime and stubborn mineral deposits to accumulate on your pool tiles, demanding extra pool care to keep them looking their best.
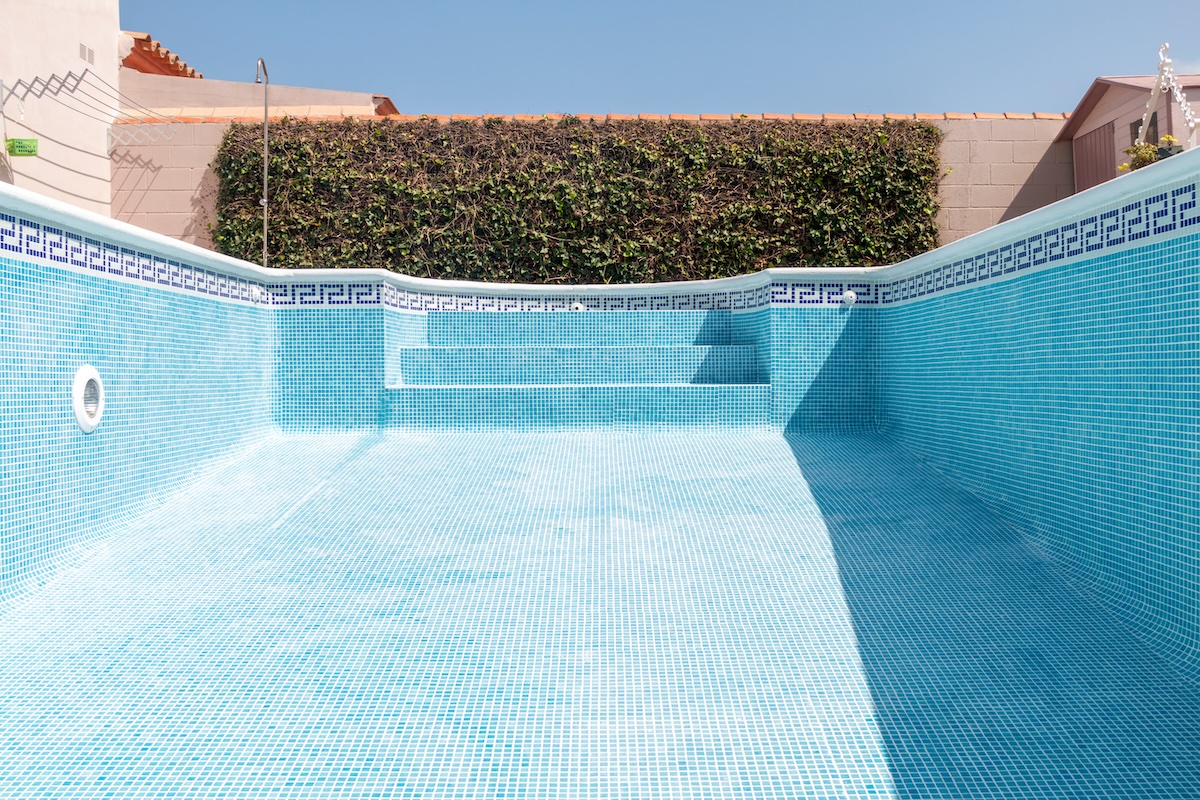
If you’ve ever stood at the edge of your swimming pool and squinted at those white, chalky streaks or stubborn gray stains along the waterline, you’re definitely not the only one. This phenomenon, known as scaling, is a direct result of hard water evaporating in the desert sun. It doesn’t take long for it to build up, and trust me—it doesn’t come off with a casual swipe of a sponge.
Add in sunscreen residue, body oils, and whatever dust the desert winds have kicked up lately, and it’s easy to see how dirty tiles can make any pool start to lose its luster.
This guide will walk you through the process of effective pool tile cleaning in Las Vegas—one of the trickiest environments for pool owners.
Before you dive in: Keep in mind that pool maintenance is as much about knowing what not to do as it is about knowing the right techniques. The wrong tools or methods can cause scratches, damage your tiles, or even throw off your pool’s delicate chemical balance. While it’s entirely possible to tackle this on your own, some homeowners find that a professional touch can save time, hassle, and potentially even money in the long run.
Pool Tile & Grout Cleaning in Las Vegas

Pool tiles are designed to withstand constant exposure to water, chemicals, and varying temperatures in swimming pools, and are used to line the pool’s waterline, walls, and floors. They are typically made from durable materials like ceramic, porcelain, or glass, with a non-porous surface that resists staining, scaling, and water absorption.
That said, if you have experience with pool cleaning in Las Vegas, you’ll know that the pools around here deal with some—let’s say—”unique” issues:
- Our dry desert air accelerates evaporation, leaving behind mineral deposits on your pool tiles at the waterline. Known as calcium scale, this buildup is particularly stubborn.
- Hard water is another hurdle. Southern Nevada’s water supply is notoriously high in calcium and magnesium, which worsens scaling. If left unchecked, these deposits can permanently damage your pool’s surface.
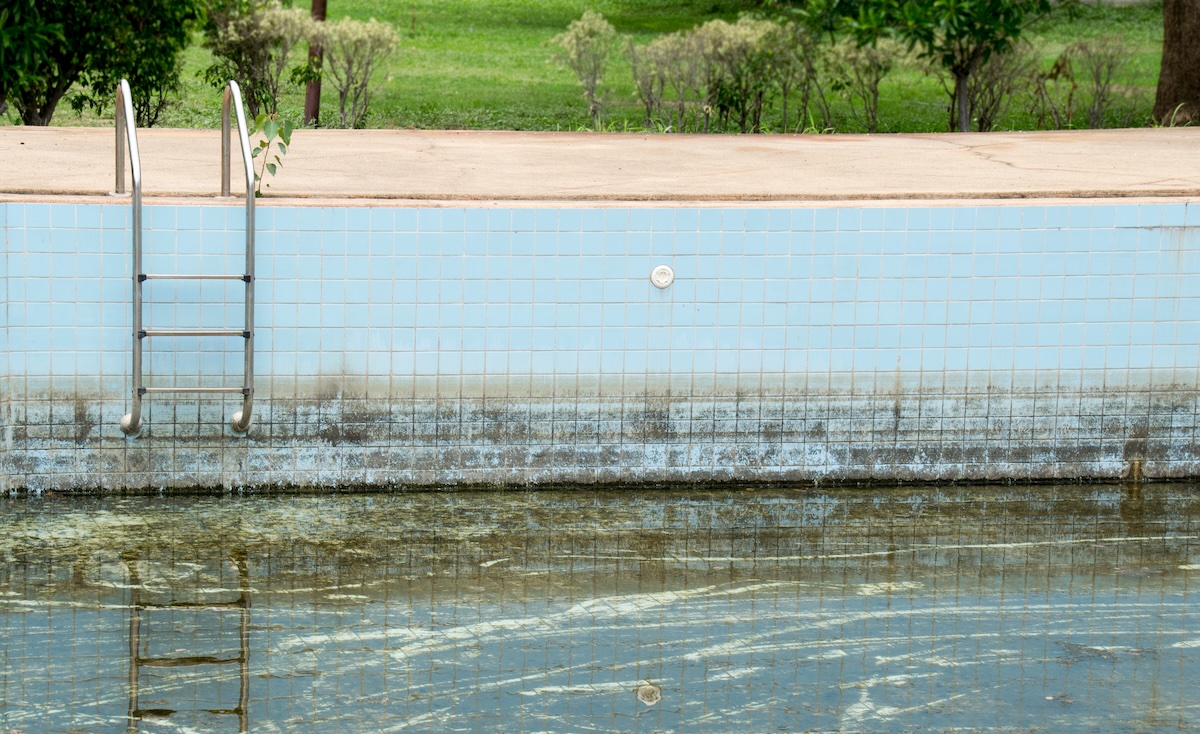
- And that’s just the start. Dust kicked up by desert winds clings to the damp tile, sunscreen and body oils mix in to create a sticky residue, and before you know it, your pool can start looking like one of those bygone hotel pools from another era on East Fremont. Nostalgic and charming—but probably not what you want for your pool.
Left untreated, mineral deposits can also cause erosion, reduce the lifespan of your tile, and even contribute to imbalances in your pool’s water chemistry. Pool tile and grout cleaning can keep buildup under control, the process is more involved than most people expect. It requires the right tools, techniques, and products to avoid damaging your tiles or disrupting your pool’s pH levels.
Proper cleaning involves carefully removing buildup without harming the underlying tile material, followed by rebalancing the water chemistry to ensure your pool remains safe and inviting. This level of maintenance takes time, effort, and attention to detail, which is why many pool owners are surprised by how much work it actually requires.
If you’re considering the DIY approach, it’s important to understand the equipment you’ll need and the steps involved to clean your tiles without risking damage or water imbalances. Below, we’ve outlined a detailed list of tools and a step-by-step guide to help you tackle pool tile cleaning effectively and safely.
What You’ll Need for Cleaning Pool Tile
Here’s a shopping list of tools and materials:
Tools:
- Pool vacuum or robotic cleaner
- Skimmer net
- Stiff-bristled brush (for ceramic tiles)
- Soft-bristled brush (for glass tiles)
- *Pumice stone (Optional—see notes below)
- Eye protection and rubber gloves
- Old toothbrush for grout and other hard-to-reach spots
- Pool pump or hose for lowering water levels
Materials:
- Baking soda
- Dish soap
- Melamine sponge (like Mr. Clean Magic Eraser)
- Commercial tile cleaner (for stubborn stains)
- Vinegar or sulfamic acid cleaner (for hard-water deposits)
*Pumice stones are a popular option for cleaning stubborn grime off pool tiles, but they’re not the only tool for the job—and they’re not always the best choice for every situation.The type of tile material, the level of buildup, and the potential for surface damage should all be considered before using a pumice stone. If you’re unsure, here are a few alternative cleaning tools and methods to explore:
- Nylon Scrubbing Pads
These are an excellent alternative for lighter scaling and general grime removal. They’re less abrasive than pumice stones and safer for delicate tile surfaces, including porcelain and glass. Nylon pads are also less likely to leave scratches behind, making them a go-to option for routine maintenance. - Tile-Specific Cleaning Brushes
While stiff-bristled brushes work well on ceramic tiles, consider brushes designed specifically for pool tile cleaning. Many of these have nylon or polymer bristles that are effective on tough stains without risking damage to your tiles. Some even come with ergonomic handles to make scrubbing easier. - Orbital Tile Scrubbers
If manual scrubbing isn’t your thing, an orbital tile scrubber can save time and effort. These battery-operated or corded tools come with interchangeable pads, allowing you to switch between gentle and more aggressive cleaning as needed. They’re particularly useful for large pools or tiles with extensive scaling. - Power Washers with Tile Attachments
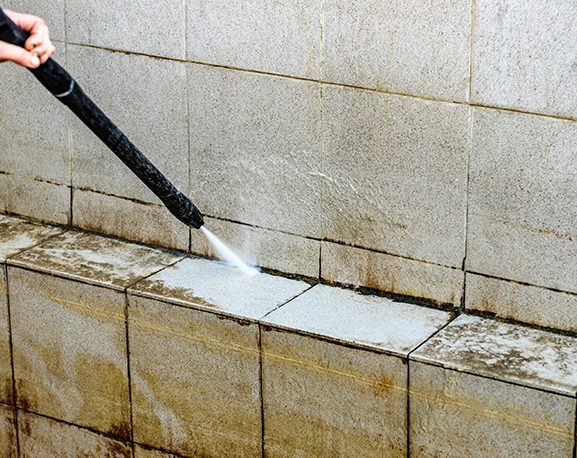
For significant buildup, a power washer equipped with a tile-safe attachment can be a game-changer. These attachments reduce pressure to a level that’s effective at removing grime without cracking or chipping the tiles. Avoid using standard nozzles, as the concentrated spray can cause damage. - Soft-Bristled Toothbrushes
As mentioned earlier, for cleaning grout lines or reaching into tight spaces, an old, soft-bristled toothbrush can be surprisingly effective (with some elbow grease). Pair it with your preferred cleaning solution to remove stubborn stains in hard-to-reach spots.
The Cleaning Process
Important Reminder:
Before you start cleaning your pool tiles, be sure to review the safety precautions outlined later in this guide (See Safety Precautions When Cleaning Pool Tile). Proper handling of cleaning tools and chemicals is essential to avoid damaging your tiles, disrupting your pool’s chemical balance, or risking personal injury. Take time to familiarize yourself with these guidelines as well as any safety precautions specific to the tools, pool chemicals, and any other cleaning products you use.
1. Prep Your Pool
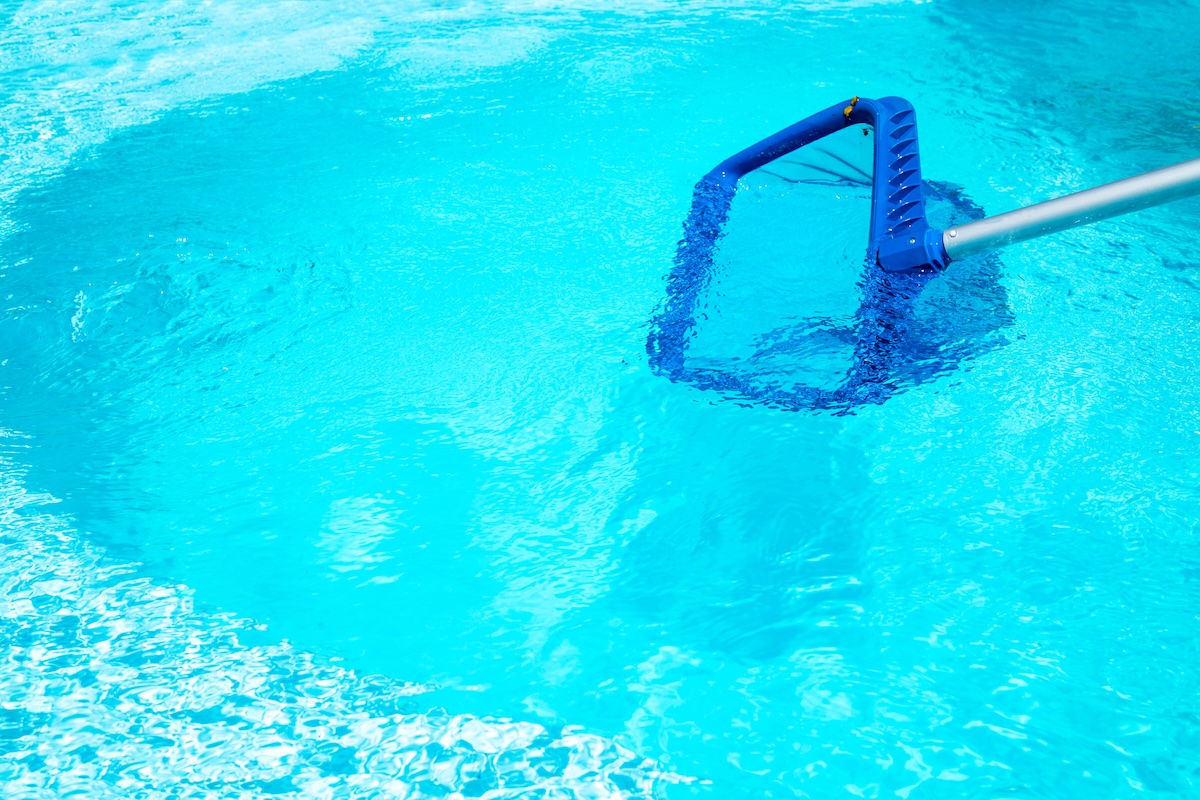
Before starting, remove leaves and debris with a skimmer net or pool vacuum. This prevents debris from floating back up and sticking to your freshly cleaned tiles.
Pro Tip: Drop the waterline slightly. Lowering the water level by a few inches makes the tile more accessible and prevents constant splashing. A pool pump or siphon works best.
2. Scrubbing the Waterline
Start scrubbing with a stiff-bristled brush. Avoid metal bristles—they’ll scratch your tiles. For glass tiles, stick to a soft-bristled brush to avoid surface damage. Work in small sections, scrubbing in circular motions. Don’t rush.
For heavy buildup, plan to clean the tile over several days. Scrubbing everything at once can overwhelm your pool’s filtration system and mess with the water’s chemical balance.
3. Mix Your Cleaning Solution
In Las Vegas, natural cleaners like baking soda or dish soap often aren’t strong enough to tackle stubborn calcium deposits. But they’re a good starting point:
- Baking Soda Paste: Mix a few cups of baking soda with water until it forms a paste.
- Dish Soap Solution: Mix 1/4 cup of dish soap with a gallon of water for a gentler scrub.
If these don’t cut through the grime, move to more aggressive methods like sulfamic acid cleaners, but proceed with caution—they’re not pool-friendly unless handled correctly.
4. Tackle Stubborn Buildup
For those hard-to-remove white deposits, try a pumice stone. Keep the tile and stone wet at all times to avoid scratches. Gently rub the stone along the waterline, and don’t press too hard. A melamine sponge can help with lighter stains.
Warning: Using pumice stones or commercial cleaners improperly can damage your tiles—or worse, alter your pool’s water chemistry.
5. Final Rinse and Balance Check
Once you’ve scrubbed away the grime, rinse the tiles with pool water or a clean bucket. Recheck your water’s chemical levels before diving in—some cleaning agents can throw off the balance. If you used heavy-duty cleaners, allow a few days before swimming.
Safety Precautions When Cleaning Pool Tile
Cleaning your pool and its tiles often involves chemicals and abrasive tools, both of which require careful handling to avoid accidents or unintended damage to your pool or property. Following these safety guidelines can help you protect yourself, your tiles, and your pool water chemistry during the cleaning process.
- Protective Gear Is Non-Negotiable:
Always wear eye protection, gloves, and long sleeves when working with cleaners or pumice stones. Even seemingly mild solutions like vinegar can cause skin irritation or damage if splashed into your eyes. For stronger chemicals, such as sulfamic acid or commercial descalers, ensure your gloves and goggles are rated for chemical protection. - Ventilation Is Critical:
When using cleaning agents like acids or commercial tile cleaners, proper ventilation prevents harmful fumes from accumulating. For outdoor pools, this means avoiding cleaning on windless days, when fumes might linger. For indoor pools, use fans or open windows to maintain airflow. - Neutralize Acid-Based Cleaners:
If you’re using acidic solutions to tackle tough scaling, be sure to neutralize the area after scrubbing. Rinse tiles thoroughly with fresh water to prevent residue from eating into the tile’s surface or leaching into the pool water, which can disrupt pH levels. - Avoid Pool Water Contamination:
When working with harsher chemicals, take steps to minimize their contact with your pool water. Lowering the water level slightly can help, as can carefully applying cleaning agents with brushes or sponges to keep them localized. If any cleaning solution does enter the water, test the chemical balance immediately and adjust as needed. - Be Cautious with Abrasive Tools:
Pumice stones, power washers, and stiff-bristled brushes are effective but can damage tile surfaces if used too aggressively. Always test these tools on an inconspicuous area of tile first, and keep all tools and surfaces wet to reduce friction. - Keep Cleaning Products Secure:
Store all chemicals out of reach of children and pets, preferably in a locked cabinet. Even products marketed as “natural” or “eco-friendly” can be dangerous if ingested or mishandled. - Handle Broken Tiles or Chips Immediately:
If you notice cracked or chipped tiles during cleaning, stop immediately and assess the damage. Continuing to scrub can worsen the problem, and broken tiles pose sharp edges that can cause injury. Consider professional repair before resuming cleaning. - Dispose of Waste Properly:
Never dump leftover cleaning solutions or rinse water into landscaping, storm drains, or other areas where they could cause harm. Check your local regulations for safe disposal of chemical waste.
Why People Hire Professional Pool Tile Cleaning Services (Especially in Las Vegas)
If all this sounds like more work than it’s worth, you’re not alone. Let’s quickly recap a few of the main reasons that cleaning pool tile in Southern Nevada can be so tricky:
- Hard-Water Deposits: Even with the right tools, removing mineral buildup can be exhausting. Pumice stones are time-consuming, and commercial cleaners require precision.
- Chemical Safety: Using harsh cleaners without disrupting your pool’s pH levels takes practice—and mistakes are costly.
- Climate Challenges: The desert sun speeds up evaporation, so deposits form faster here than in other regions.
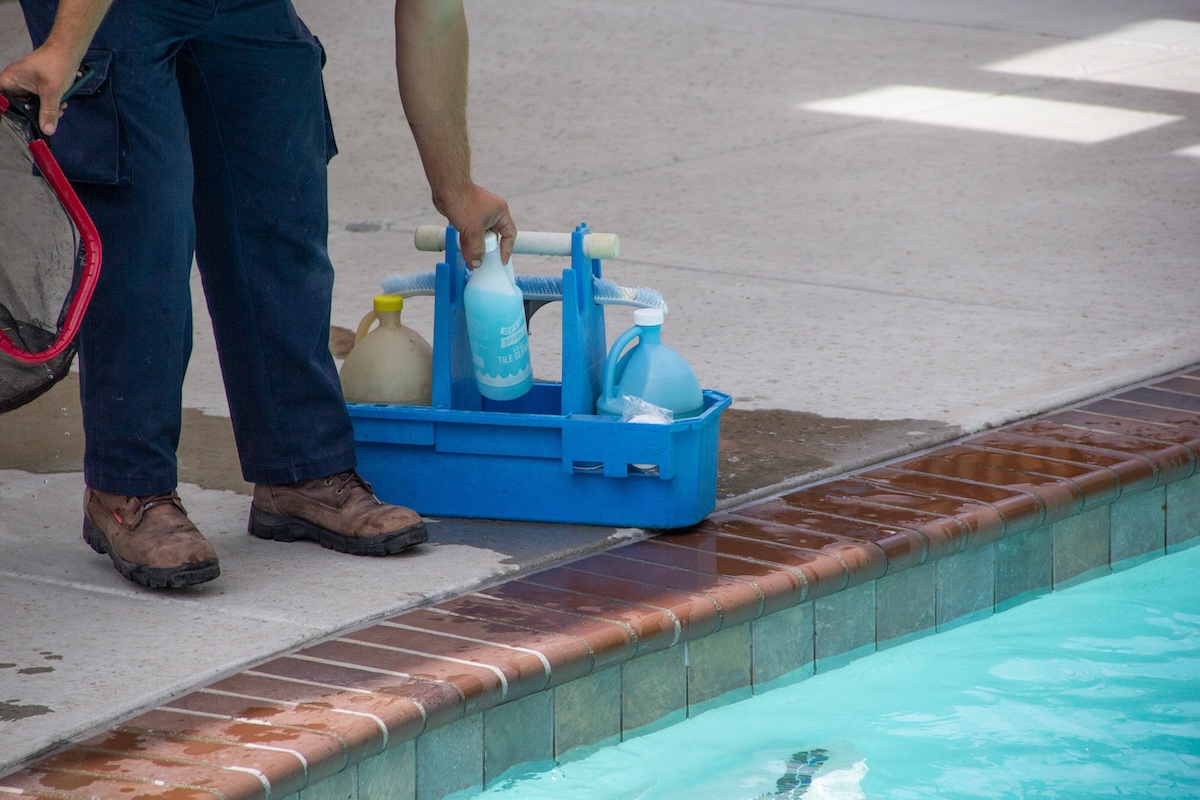
Las Vegas pool owners often turn to professionals who use specialized equipment like, for example, high-pressure soda blasters. These systems remove grime and calcium deposits efficiently without damaging tiles. They can also eliminate the risks of damaging tiles, mishandling chemicals, or spending hours scrubbing without achieving the desired results—not to mention eliminating the “guesswork” of balancing your pool water afterward.
Professional pool tile cleaning services offer specialized expertise, tools, and techniques that go far beyond what most homeowners can achieve on their own. And for pool owners in Vegas, professional tile cleaning can restore your tiles to a like-new condition while making sure your pool is safe, balanced, and ready to use.
Do You Need to Drain the Pool to Clean the Tiles?
You don’t necessarily need to drain a pool to clean the tiles. Even if the tiles extend below the waterline, you generally don’t need to fully drain the pool unless the buildup is severe or you’re using methods or chemicals that require a dry surface. (If the pool floor is tiled, full drainage might be necessary for thorough cleaning, especially if there’s heavy buildup or staining.)
To drain, or not to drain? It all depends on the severity of the buildup and the method you plan to use:
When Pool Draining Is Not Necessary
- Minor to Moderate Buildup: For lighter calcium scaling or grime, you can clean tiles at the waterline by slightly lowering the water level (a few inches) to expose the dirty area. This is typically done using brushes, sponges, or tools like pumice stones or melamine sponges.
- Spot Cleaning: If buildup is concentrated in specific areas, spot-cleaning methods work without draining the pool.
- Orbital Tile Scrubbers or Power Washers with Tile Attachments: These tools can often clean tiles effectively without needing the pool to be empty.
When Draining Might Be Necessary
- Severe Calcium Scaling: If the buildup extends below the waterline or is particularly stubborn, pool draining may be required to access and thoroughly clean all the tiles.
- Using Harsh Chemicals: Certain cleaning agents, like sulfamic acid or other strong descalers, should not come into contact with pool water, as they can disrupt the water chemistry. Draining the pool ensures safe application.
- Professional Soda Blasting: Some professional cleaning methods, like soda or bead blasting, may require the pool to be drained for effective cleaning.
Tips to Keep Your Pool Tiles Cleaner for Longer
If you’re committed to staying on top of your pool maintenance, there are a few key strategies to keep your tiles looking their best for as long as possible. While no method will completely eliminate the need for a deeper clean, these steps can help cut down on how often you’ll need to deal with heavy buildup. They’re worth adding to your regular pool care routine:
Brush Weekly
Make it a habit to give your tiles a quick scrub once a week. Even just a few minutes with the right brush can go a long way toward preventing calcium scale and grime from taking hold. The trick is consistency—scrubbing early and often keeps buildup manageable. But don’t underestimate the importance of using the correct tool.
Pro Tip: For ceramic tiles, a stiff nylon-bristle brush works well, while glass tiles require a softer touch to avoid scratches. Using the wrong brush can create tiny abrasions, which can actually make the tiles more prone to collecting debris.
Warning: Natural stone is porous and can be damaged by acidic cleaners or vigorous scrubbing.
Install a Pool Cover
A pool cover can feel like an extra step when you’re already busy with regular maintenance, but by covering your pool, you can significantly reduce evaporation, which is one of the main reasons calcium deposits form in the first place. (It also minimizes the amount of dust, leaves, and debris that wind up in your water.) Less evaporation and debris mean less work for you in the long run. Automated pool covers exist, if manually pulling a cover over your pool sounds like a chore.
Monitor Your Water Chemistry Regularly
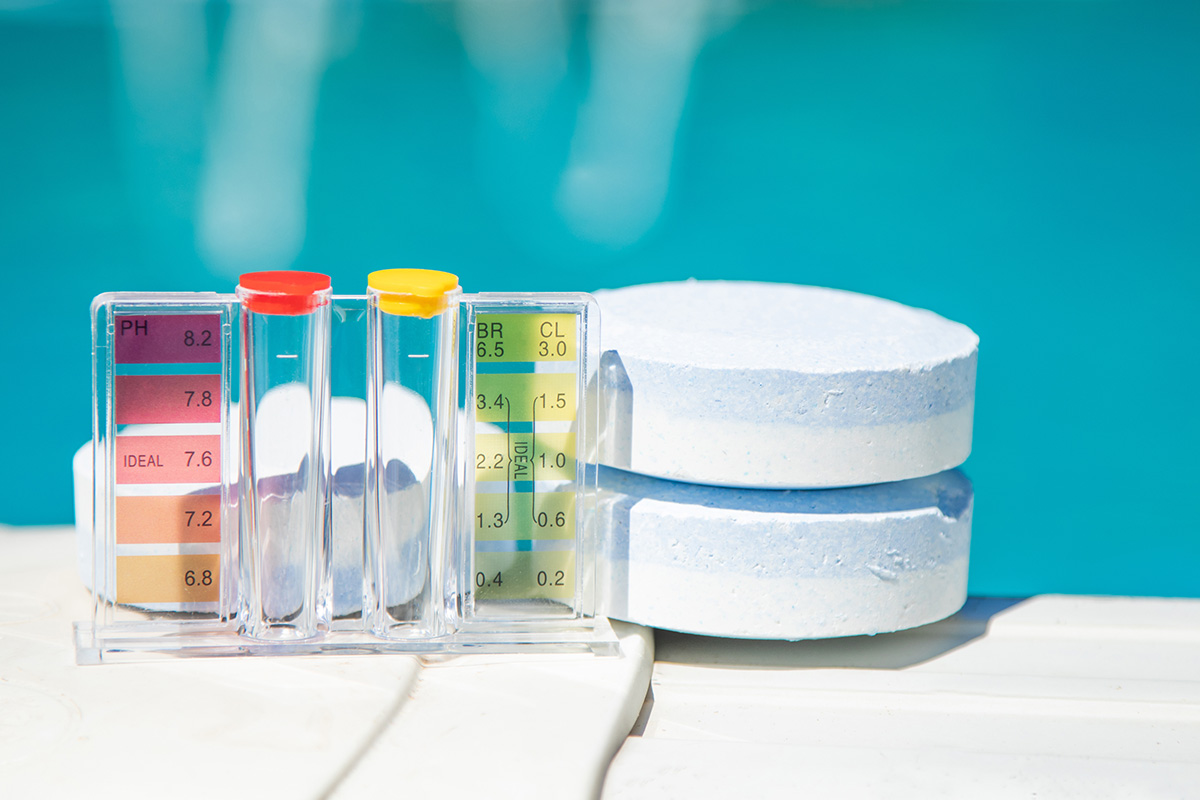
This step can’t be overstated. Hard water is as much a part of Southern Nevada as The Strip, and if your pool chemistry isn’t balanced, it’s like rolling out the red carpet for calcium scale.
At a minimum, you’ll want to test your water weekly to ensure the pH, alkalinity, and calcium hardness are all within the recommended range. Testing strips are easy to use, but for more precise results, consider investing in a liquid test kit or even a digital water tester.
Making chemical adjustments is a balancing act. Adding too much of one compound can throw everything else off, which can lead to other issues like cloudy water or algae growth.
Use Descaler Treatments
To keep scaling in check, you may want to consider using some tile-specific descaling treatments every few months. These are designed to prevent calcium deposits from forming, but they work best as part of a larger maintenance routine.
Be sure to follow the manufacturer’s instructions carefully—using too much can disrupt your water chemistry, while using too little won’t be effective.
Remember: You’ll still need to stay on top of brushing, testing, and balancing your water to keep everything working as it should.
Before applying a descaling treatment, confirm that it’s compatible with your specific tile material to avoid any potential damage. Additionally, check how the treatment interacts with your pool’s existing water chemistry to prevent unintended imbalances.
Maintaining a swimming pool in a desert climate is no small task, and keeping your waterline tiles in top condition is just one part of the bigger picture. While these tips can make a noticeable difference in how often your tiles need heavy-duty cleaning, they also require a fair bit of attention to detail, the correct tools, and regular effort.
The Bottom Line
Maintaining a pool in Las Vegas comes with its own set of hurdles, especially when it comes to cleaning the tiles. The combination of hard water, intense sun, and frequent use means scaling, grime, and residue can build up quickly, requiring regular attention. While it’s very possible to clean pool tiles yourself using the right tools and techniques, it can be a time-consuming and labor-intensive process that also requires careful handling of chemicals and careful use of tools to avoid unintended damage.
For pool owners looking to save time and effort, professional pool tile cleaning services offer specialized expertise and equipment to effectively address buildup while maintaining water chemistry. Whether you choose a DIY approach or hire professionals, staying consistent with cleaning and maintenance will helps preserve the appearance and longevity of your pool.
Ultimately, the best choice depends on your priorities—and how much time and effort you want to dedicate to tile cleaning. Regular upkeep, whether handled personally or by a service, can make sure your pool stays a refreshing and beautiful part of your property for years to come.